


Stop the Blur: Using Gemini AI to Master Large-Dog Radiographs

You position beautifully. You center carefully. You collimate appropriately. You hit expose…
And the image comes up blurry. Not just “a little soft,” but diagnostically questionable.
Full-body radiographs on 100lb Labs or obese cats can humble even the most experienced teams. When you’re up against thickness, motion, scatter, and time pressure, things get tricky fast. This is where Gemini, Google’s AI collaborator, becomes an essential tool for your radiology suite.
Sometimes you don’t need more CE; you need a fast, clear answer while the patient is still on the table.
Step 1: Moving Beyond Generic Search
If your team types: “Why are my x-rays blurry?” they’ll get a generic article. To get "Level 2" results, teach your staff to use Power Prompts that include specific constraints and a requested format.
The Power Prompt: "Act as a senior veterinary radiographer. Give me a 4-point checklist to fix motion blur for a 95lb dog on a DR system. Focus only on kVp/mA adjustments and physical restraint. Keep it under 50 words."
Step 2: Troubleshooting with "Physics-to-Practice"
Most of us don't need a physics lecture mid-shift. We need reminders that translate to immediate action. Instead of asking "why" something works, ask Gemini how to apply it to your specific machine.
The Power Prompt: "I’m shooting a 100lb dog, and the image is blurry from respiratory motion. My current settings are [Insert Your Settings]. What specific mA increase and exposure time decrease do you recommend to stop motion while maintaining density?"
Step 3: Create Instant Clinical "Cheat Sheets"
If your team struggles with consistency, use Gemini to build a reference tool that can be printed and taped to the wall near the generator.
The Power Prompt: "Create a simplified technique chart table for 'Large/Obese Patients' on a DR system. Include columns for: Body Thickness (cm), Grid Use (Yes/No), and kVp adjustment factors. Format it as a clean, scannable table."
Step 4: Mastering Motion Control
Blurry images aren’t always about the settings; they’re about the patient. Gemini can help your team refine their physical approach in seconds.
The Power Prompt: "List the 3 best sedation protocols and 2 positioning aids specifically for reducing respiratory motion in obese cats during thoracic films. Bullet points only."
Why This Matters for Your Workflow
A blurry radiograph is more than just a bad image; it’s a drain on your practice's health. Retakes lead to:
Increased Radiation: Unnecessary exposure for staff and patients.
Bottlenecks: A 10-minute study turning into a 30-minute ordeal.
Staff Burnout: Frustration from "guessing" at settings.
3 Tips for "Talking" to Gemini in the Clinic
Assign a Persona: Start your prompt with "Act as a senior veterinary radiographer" to ensure a professional tone and clinically grounded advice.
Use Specific Constraints: Tell the AI to "Keep it under 50 words" or "Use bullet points." This prevents you from having to read a long article while a patient is on the table.
Give It Your "Inputs": If you want a better setting, tell Gemini what you are currently using. AI is best at suggesting the "next step" when it knows where you are starting.
The "Why" Behind the Prompt
Using Gemini proactively reduces retakes, minimizes staff frustration, and ensures diagnostic-quality images the first time—improving both patient care and clinic efficiency.
The Bottom Line: AI as a Clinical Confidence Tool
We tend to talk about AI as if it’s only for "robotic" diagnostics. But in a busy clinic, Gemini’s best use is helping a technician stand in front of a DR monitor, think clearly, and get the shot right the second time—or better yet, the first.
Why AI Works:
AI answers improve dramatically when it knows:
What equipment
What happened
What you observed
What help do you want?
Think of it like calling tech support — details matter.


How to Identify and Correct Underexposed Veterinary X-Rays
In veterinary diagnostics, every image tells a story—but only if that image is clear, properly exposed, and reveals the details you need to see.
Underexposed radiographs are a common and frustrating issue, especially in busy clinics or those with less experienced staff. They don’t just create workflow delays—they can obscure critical findings and compromise patient care.
The good news? Identifying and correcting underexposed veterinary X-rays is entirely within your team’s reach!
Whether you're using a full-body digital x-ray system or a dental x-ray system, here’s what you need to know to spot underexposure and fix it fast.
What Does an Underexposed X-Ray Look Like?
Underexposed radiographs typically appear too light or “washed out.”
Anatomical structures, especially soft tissue or overlapping organs, may lack contrast and definition. This can make assessing for subtle fractures, pulmonary patterns, or abdominal masses difficult.
Let’s look at an example…
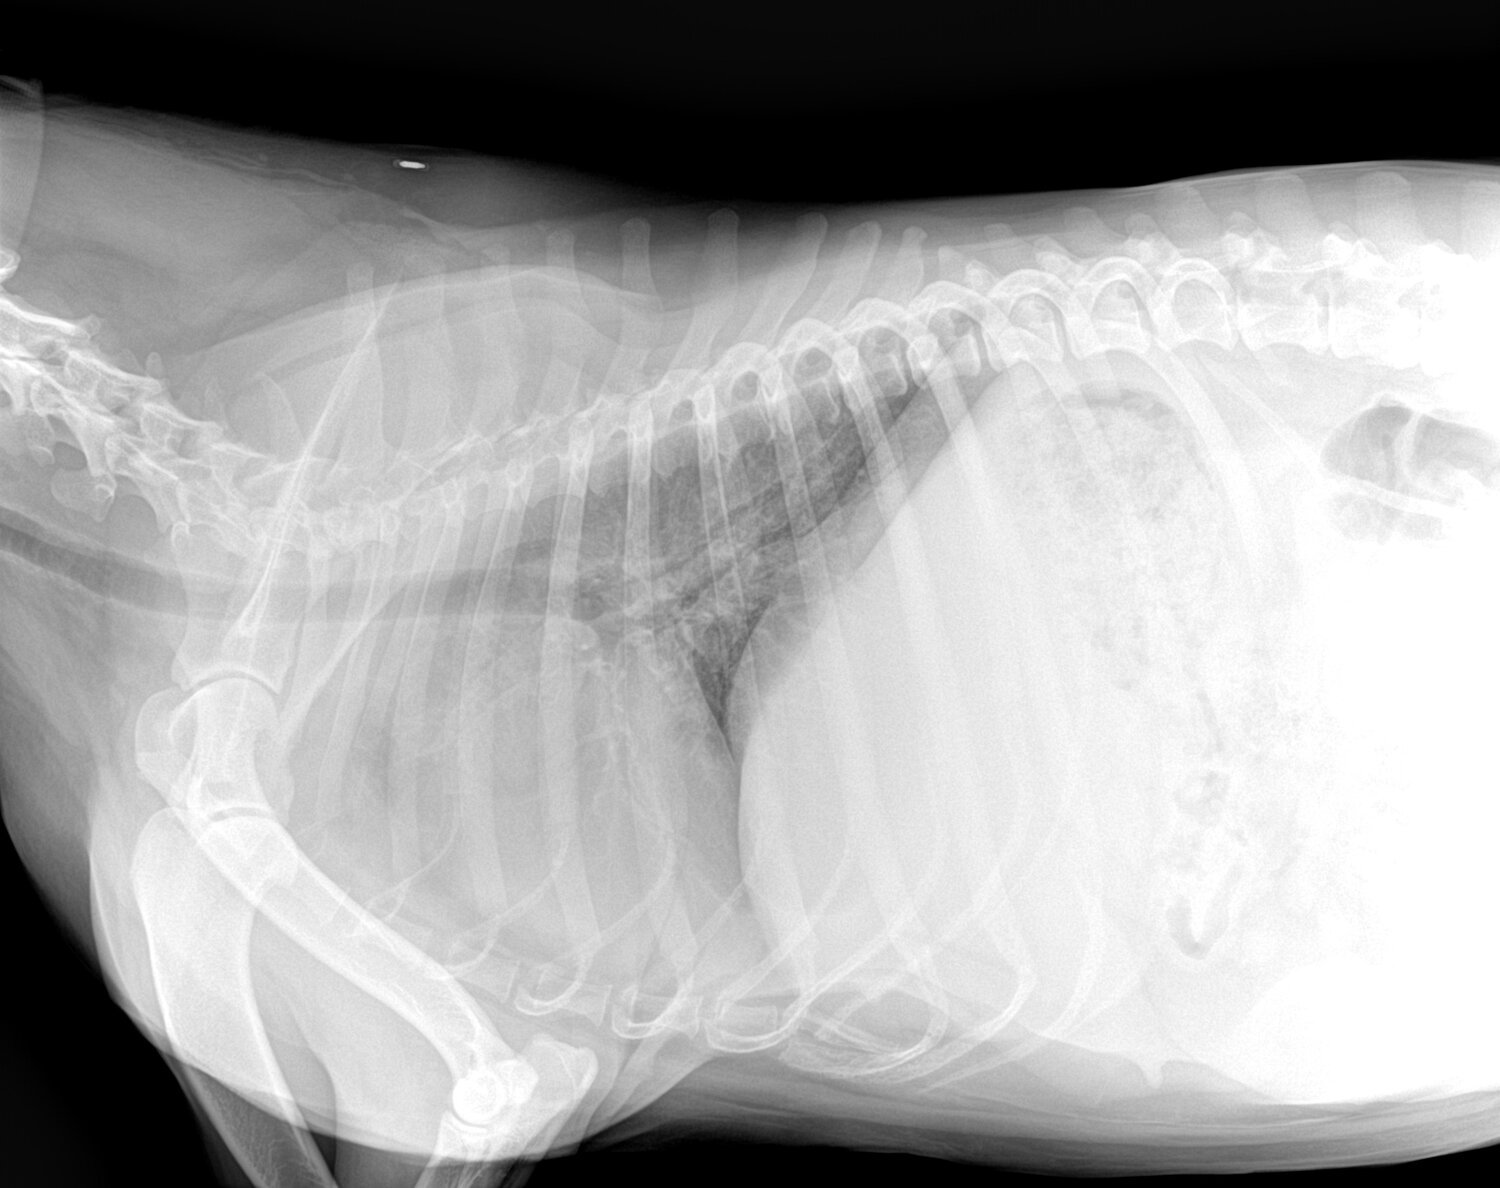
Jasper, a middle-aged Labrador, comes in for coughing and mild lethargy. The initial thoracic X-ray appears extremely pale—lung fields look nearly indistinguishable from the soft tissue.
On retake, using corrected exposure settings, the radiograph reveals a suspicious nodule.
That second image could distinguish between catching early pathology and sending the patient home undiagnosed.
What Causes Underexposure in Veterinary Radiographs?
Several factors can contribute to underexposure:
Incorrect technique settings (kVp and mAs) are often the most common culprits. Too low = too little penetration.
Improper patient positioning or size estimation: Thicker body parts may require adjustments to the technique.
Equipment calibration issues: Older or poorly maintained units may not output consistent exposure levels.
Sensor or plate problems: In digital systems, underexposure may also stem from a malfunctioning DR sensor or image plate.
Best Practices to Correct and Prevent Underexposed X-Rays
You can adjust technique settings thoughtfully.
If you’re routinely seeing underexposed images, review your technique chart. Increasing mAs improves image density, while adjusting kVp affects penetration and contrast.
Use a controlled approach—changing one variable at a time—to determine what works best for your unit and patient size.
Use a standardized positioning protocol
Precise radiographic technique starts with consistent positioning. Ensure your team utilizes positioning aids, is familiar with your machine’s baseline settings, and selects the appropriate view for the clinical question. Consider creating quick-reference guides near your X-ray suite.
Train your team to recognize exposure errors.
Empower your technicians to identify underexposure on the spot and retake images if necessary. Time spent training now saves retakes, delays, and diagnostic errors later.
Upgrade to high-quality digital systems.
Modern digital radiography systems often include automatic exposure detection and produce images in seconds, providing more consistency and reducing the likelihood of human error.
If you're using an older system or film-based radiography, consider upgrading to improve efficiency and accuracy.
Why It Matters
Correct exposure is more than a technical detail—it impacts patient care. A radiograph that misses a mass, hides a fracture, or blurs a lung pattern can delay treatment and put your patient at risk.
By optimizing your imaging protocols and investing in equipment that supports high-quality diagnostics, you help ensure that each patient receives the care they deserve. Each Veterinarian has the information they need to make confident decisions.
Would you be interested in upgrading your Imaging Suite?
Explore our catalog to find the right fit for your hospital. Whether you're opening a new practice or modernizing your existing setup, explore our selection of imaging equipment and don’t hesitate to reach out with any questions.

How to Avoid Under-Exposed X-Rays in Your Animal Hospital

Mastering X-ray Imaging: Essential Techniques for Crystal Clear Animal Radiographs
As veterinarians, we’re sure that you use X-rays commonly as a part of a diagnostic process. In order to achieve an accurate diagnosis, however, these radiographs must be correctly positioned and of high quality. If X-rays are taken poorly, lesions may be both under and over-diagnosed, due to problems with interpretation.
What is an under-exposed X-ray and how do I avoid that in my animal hospital X-ray room?
Having to repeat X-rays is far from ideal, both in terms of increased radiographic exposure for our patients, but also in terms of cost, time, and frustration for the veterinary professional.
We all want our X-rays to be the perfect first time – so how do we achieve that? Exposure problems are a common X-ray fault in animal hospitals, so in this blog, we will go through under-exposure, and how to avoid it. The opposite, over-exposure, is also a common issue – read more about that here.
What is exposure?
Exposure refers to the concentration of X-ray photons in the air at a specific point. If an X-ray is under-exposed, it means there was less penetration of the beam through the target tissue.
X-ray exposure is affected by four factors:
Kilovoltage (kV) – controls the energy of the X-rays, and therefore the penetrating power
Milliampere (mA) – the current applied to the tube to generate X-rays, and therefore the number of photons produced
Exposure time
Focus-film distance (FFD - the distance from the X-ray source to the patient) – as distance increases, the intensity of the beam decreases
It is a combination of these factors which determines the overall exposure of each X-ray.
Why does an under-exposed X-ray matter?
In conventional radiography, an under-exposed X-ray will look ‘lighter’ or ‘whiter’ than a properly exposed X-ray. This whitening effect can make it very difficult to spot subtle abnormalities and lesions. Under-exposure can also lead to increased mottling or cloudiness of an image, which can obscure parts of the radiograph, or lead to artifacts.
Most veterinary staff were taught the “Rule of Toast” to describe this – underdone toast is too white.
However, in a modern digital radiograph, the computer will automatically add additional filters. It is very, very rare for an underexposed digital radiograph to appear pale or white.
This can “trick” the inexperienced radiographer into thinking that the exposure is correct when, in reality, the computer is enhancing and filtering the image.
This enhancement adds an additional layer of complexity when diagnosing from the radiograph because there may be insufficient raw data to obtain a reliable image, despite excellent-appearing radiographs.
Mildly under-exposed images are unlikely to be diagnostically catastrophic, as the signal: noise ratio of a modern DDR plate is high enough that it is likely that sufficient data has been captured. However, the more underexposed the image is, the more serious the potential for errors.
In more severely under-exposed images, the most common sign is pixelation of the image. It may appear subtly grainy, or even blurred (like an image zoomed in too far). This can significantly obscure subtle or fine pathology, especially when viewing lung fields, or fine structures like small animal phalanges or dentitions.
Under-exposure is therefore a real problem when it comes to the interpretation of X-rays in an animal hospital. Poor X-ray quality can lead to both over and under-diagnosis of disease in our patients.
Why is my X-ray under-exposed?
Having problems with under-exposed X-rays in your veterinary clinic? Here’s where you might be going wrong!
A common error when it comes to exposure is changes in the distance between the X-ray machine and the patient. Even a relatively small increase in distance can have a large effect on exposure, and therefore X-ray quality, as exposure is controlled by the inverse square law of radiation dispersal.
A small increase in the FFD requires a corresponding significant increase in the mAs to avoid an underexposed X-ray. Common causes for a variable FFD include adjustable X-ray tables in small animal hospitals, or large animal veterinarians standing too far from the patient with a portable machine.
The kV and mA settings play a large role in the exposure. Low kV levels affect X-ray penetration and therefore result in lower exposure. If an image is under-exposed, this usually means that the kV or mAs need to be increased.
However, adjusting the kV will lead to contrast changes, so in most cases, unless the contrast is too high, the mAs is the adjustment of choice to correct exposure errors.
Exposure can also be low due to various common technical errors, such as using a grid unnecessarily or underestimating the weight or body size of a patient.
Tips for avoiding an under-exposed X-ray
Achieving the right exposure is vital for X-rays of good diagnostic quality. In basic terms, if radiographs are often being under-exposed at your veterinary hospital, then increases to the kV or mAs settings will be needed.
However, for an X-ray of true diagnostic quality, it should be remembered that an image needs to be of high quality, rather than just exposed correctly.
For example, different approaches may be used when imaging the thorax as compared to the abdomen. Thoracic radiographs require a high kV: there is high natural contrast between bone, soft tissue, and gas, and using a high kV value enhances detail in the soft tissue areas of the lung fields.
Conversely, the abdomen has low natural contrast due to the vast majority of content being soft tissue, and therefore abdominal X-rays require a lower kV to maximize contrast.
The mAs setting will therefore need to be adjusted appropriately to accommodate the change in kV whilst retaining good exposure.
Exposure charts can be a really useful way to give a good starting point for determining the best settings. By including appropriate settings for multiple species, breeds, and sizes of animals, as well as different areas of anatomy, quick reference charts can be invaluable for maximizing X-ray quality and exposure.
The other two exposure factors of distance and time should be standardized as much as possible. Using correct restraint of patients should minimize motion blur. It is also important to ensure your X-ray machine is regularly maintained and serviced, to minimize the likelihood of equipment error.
Most modern DR systems have embedded Exposure Indicators, and with “exposure creep” a significant issue in digital radiography, we strongly recommend you use this under-utilized tool to ensure that your exposures are optimal. https://newvetequipment.com/dr-digital
Summing up
Under-exposed X-rays lead to interpretation errors, especially as they can be difficult to detect on a digital radiograph. Under-exposure can be caused by changes to the exposure factors: kV, mAs, distance, and time.
Standardizing exposure factors, using correct calculations for kV and mAs, and using accurate Exposure Indicators will lead to correct exposure and X-rays of true diagnostic quality in your animal hospital.
Many instances of under or overexposure can be attributed to doctors failing to measure animals or consult the technique chart.
References
Mattoon, J. (2006) ‘Digital Radiography’ Vet Comp Orthop Traumatol 19(03) pp.123-132
Kirberger, R. (2005) ‘Radiograph quality evaluation for exposure variables – a review’ Veterinary Radiology and Ultrasound 40(3) pp.220-226