

How to Identify and Correct Underexposed Veterinary X-Rays
In veterinary diagnostics, every image tells a story—but only if that image is clear, properly exposed, and reveals the details you need to see.
Underexposed radiographs are a common and frustrating issue, especially in busy clinics or those with less experienced staff. They don’t just create workflow delays—they can obscure critical findings and compromise patient care.
The good news? Identifying and correcting underexposed veterinary X-rays is entirely within your team’s reach!
Whether you're using a full-body digital x-ray system or a dental x-ray system, here’s what you need to know to spot underexposure and fix it fast.
What Does an Underexposed X-Ray Look Like?
Underexposed radiographs typically appear too light or “washed out.”
Anatomical structures, especially soft tissue or overlapping organs, may lack contrast and definition. This can make assessing for subtle fractures, pulmonary patterns, or abdominal masses difficult.
Let’s look at an example…
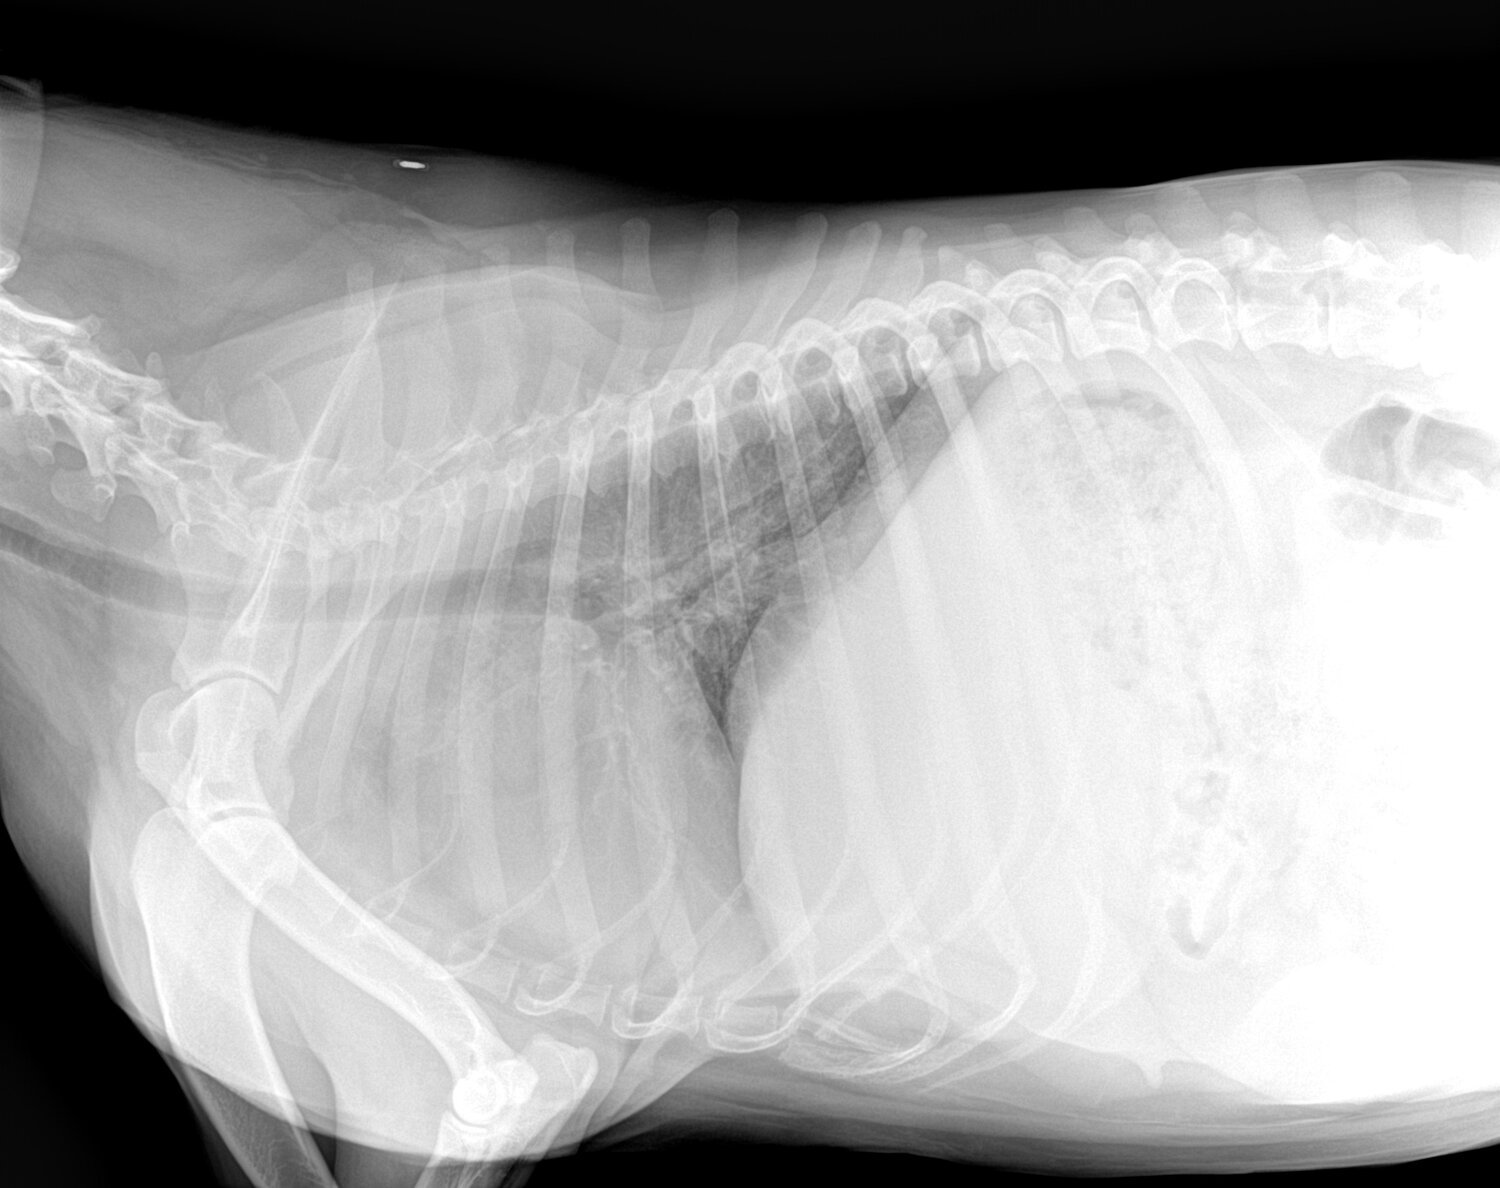
Jasper, a middle-aged Labrador, comes in for coughing and mild lethargy. The initial thoracic X-ray appears extremely pale—lung fields look nearly indistinguishable from the soft tissue.
On retake, using corrected exposure settings, the radiograph reveals a suspicious nodule.
That second image could distinguish between catching early pathology and sending the patient home undiagnosed.
What Causes Underexposure in Veterinary Radiographs?
Several factors can contribute to underexposure:
Incorrect technique settings (kVp and mAs) are often the most common culprits. Too low = too little penetration.
Improper patient positioning or size estimation: Thicker body parts may require adjustments to the technique.
Equipment calibration issues: Older or poorly maintained units may not output consistent exposure levels.
Sensor or plate problems: In digital systems, underexposure may also stem from a malfunctioning DR sensor or image plate.
Best Practices to Correct and Prevent Underexposed X-Rays
You can adjust technique settings thoughtfully.
If you’re routinely seeing underexposed images, review your technique chart. Increasing mAs improves image density, while adjusting kVp affects penetration and contrast.
Use a controlled approach—changing one variable at a time—to determine what works best for your unit and patient size.
Use a standardized positioning protocol
Precise radiographic technique starts with consistent positioning. Ensure your team utilizes positioning aids, is familiar with your machine’s baseline settings, and selects the appropriate view for the clinical question. Consider creating quick-reference guides near your X-ray suite.
Train your team to recognize exposure errors.
Empower your technicians to identify underexposure on the spot and retake images if necessary. Time spent training now saves retakes, delays, and diagnostic errors later.
Upgrade to high-quality digital systems.
Modern digital radiography systems often include automatic exposure detection and produce images in seconds, providing more consistency and reducing the likelihood of human error.
If you're using an older system or film-based radiography, consider upgrading to improve efficiency and accuracy.
Why It Matters
Correct exposure is more than a technical detail—it impacts patient care. A radiograph that misses a mass, hides a fracture, or blurs a lung pattern can delay treatment and put your patient at risk.
By optimizing your imaging protocols and investing in equipment that supports high-quality diagnostics, you help ensure that each patient receives the care they deserve. Each Veterinarian has the information they need to make confident decisions.
Would you be interested in upgrading your Imaging Suite?
Explore our catalog to find the right fit for your hospital. Whether you're opening a new practice or modernizing your existing setup, explore our selection of imaging equipment and don’t hesitate to reach out with any questions.
