


Why We Get Underexposed X-rays and How to Identify One
Why are Clear Veterinary Diagnostic Images So Important?
Proper diagnostic imagery is the bedrock of developing lifesaving treatment protocols for our patients.
Beyond diagnosis, x-rays enable Veterinary professionals to monitor the effectiveness of ongoing treatment, making adjustments based on the patient’s response (which can affect the patient’s long-term prognosis).
A poor-quality image can snowball into a delayed diagnosis, postpone treatment plans, and defer patient care.
For this reason, it’s important to identify the characteristics of a diagnostically valuable x-ray.
Various factors contribute to an image’s ability to be considered diagnostically worthy. To get started, look at one of the most common causes of retakes: underexposed X-rays.
What Makes Up a Quality Veterinary Diagnostic Image?
Before we dive into what characteristics to look for in an underexposed image, let’s first talk about qualities that make up an image with a balanced exposure rate.
An image with adequate quality will display:
Sharpness (the image is in focus, clear, and distinct)
Visual characteristics of density and contrast (adequate representation of tissue density)
Clear visualization of internal structures
No distortion or artifacts (no patient motion, technical errors, unnecessary objects, etc.)
Proper knowledge and use of a veterinary X-ray technique chart enables consistent exposure rates and image quality.
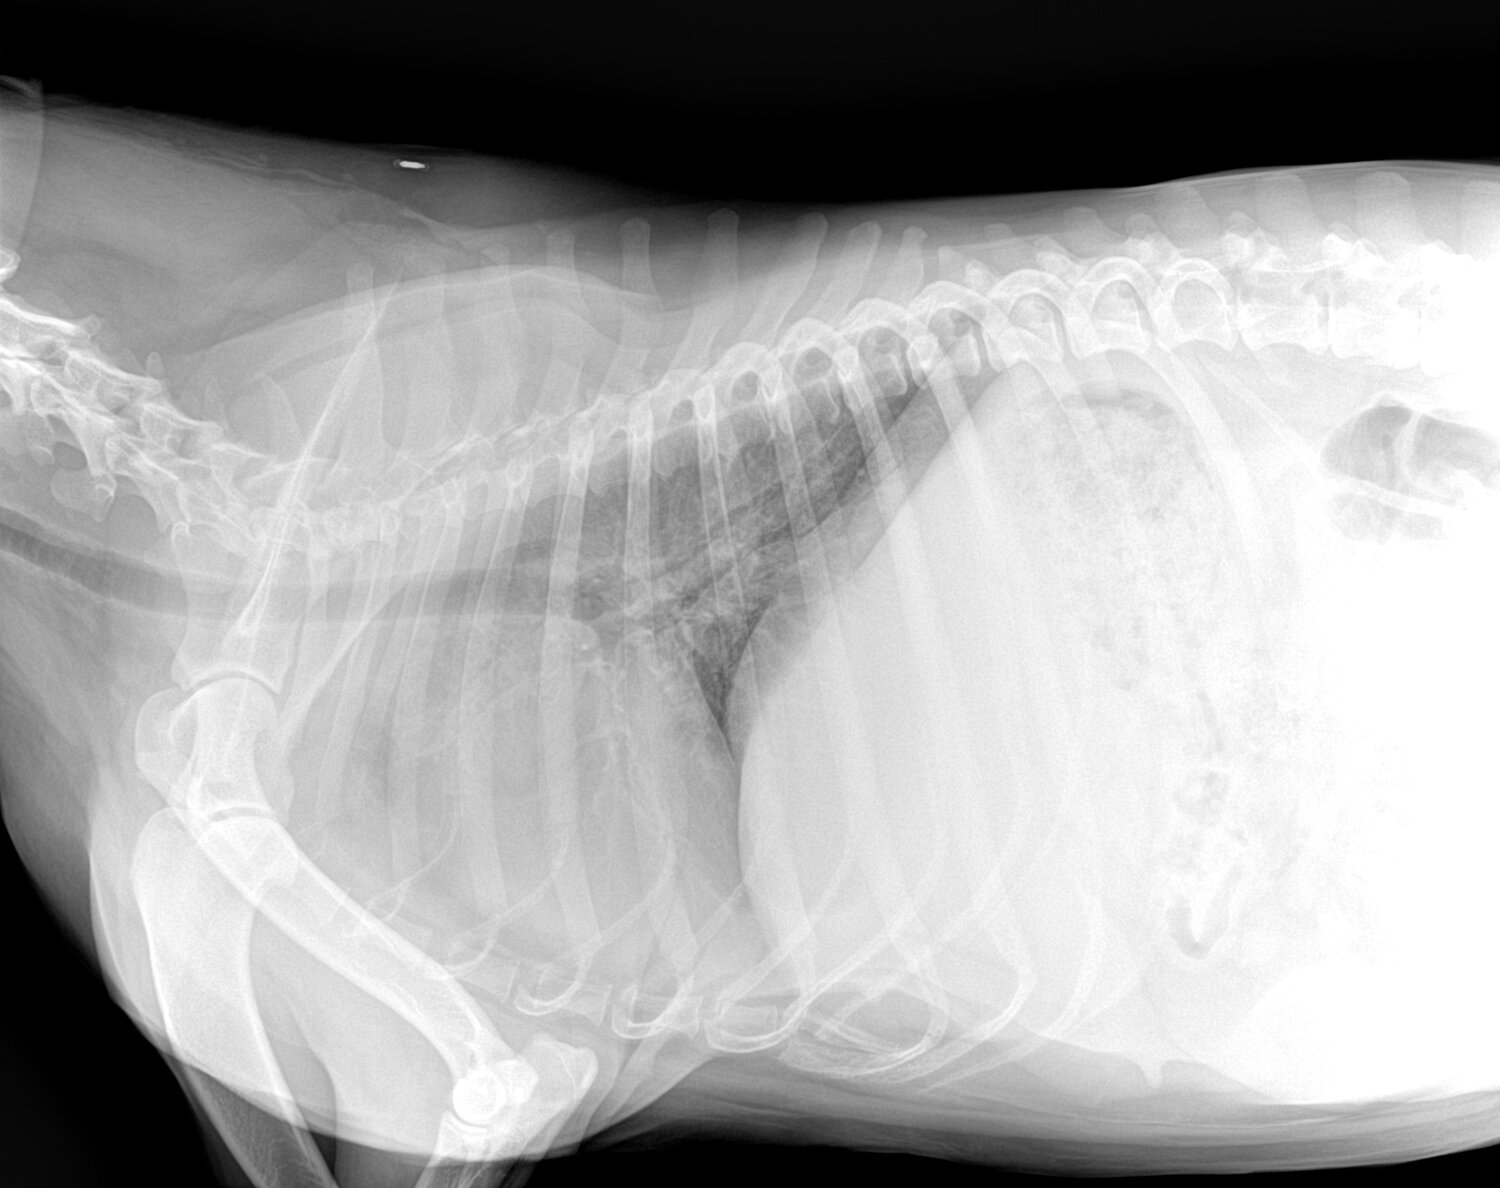
What is an Underexposed Veterinary X-Ray?
Underexposed X-rays result from X-ray settings being set too low.
When x-ray settings are too low, insufficient energy builds up in the primary beam. With too little energy meeting the X-ray detector (the tool that captures the image, also known as a cassette), the image appears radiopaque (meaning white to light gray).
A few other characteristics you’ll notice in underexposed X-rays are:
Lack of density and contrast (making the image appear “cloudy)
Poor visibility of internal structures
Blur or distortion
Scatter Radiation (reduces image contrast and clarity as a result of the x-ray changing direction –“scattering” - when it meets the patient)
The result of these characteristics will likely require a retake (increasing radiation exposure to both the patient and those capturing the image).
It’s no secret that X-ray retakes are less than ideal. Not only do they increase exposure risks, but they also decrease productivity and hospital efficiency and delay diagnostic review and treatment planning.
When an X-ray image lacks proper exposure, it is considered underexposed and less diagnostically valuable (or not at all).
How to Avoid an Underexposed Veterinary X-Ray
Here are a few easy-to-follow tips to avoid underexposed X-rays with your next patient:
1. Correctly measure the anatomical part of the patient you’ll be radiographing using a set of calipers (for best results, measure in the position they’ll be in for the image. For example, lateral recumbency)
2. Using the measurement, refer to your veterinary x-ray technique chart for correct kVp and mAs settings
3. Ensure the x-ray tube head is in the correct position (raised if the cassette is on the tabletop or lowered if it’s in the bucky tray)
4. Use the collimator on the veterinary X-ray generator to reduce unnecessary scatter radiation
Use image-enhancing algorithms and software tools offered by computed radiography to reduce artifacts, distortion, and scatter radiation for best results.
Risks of Poor Quality Veterinary Diagnostic Images
Just as a good diagnostic image can result in a successful treatment plan, a poor-quality X-ray can create barriers and delays in a confident diagnosis.
Inadequate exposure during an X-ray can lead to:
Misdiagnosis
Inconclusive diagnosis
Failure to resolve discrepancies in interpretation
Something as simple as an underexposed image can lead to potentially life-threatening consequences and compromised patient care.
The Quick Take Away
Think of X-ray exposure like a toaster—if the toaster doesn’t produce enough energy, when it’s finished, you’re left with nothing but a warm piece of white bread.
Just as we’d need to increase the time on our toaster, the machine's X-ray settings will need to be increased for a balanced diagnostic image.
Enhancing Safety in Your Veterinary Radiology Room
Dosimeter badges and a proper X-ray or CT room shield plan are the best ways to protect your veterinary team from radiation exposure.
Want to learn more? For more information on radiation safety at your practice, check out the links below:


How to use a Veterinary X-Ray Technique chart

Mastering Veterinary X-Ray Techniques
Quality diagnostics are the foundation of a confident patient diagnosis. It’s no surprise that veterinary radiography is one of the most commonly used diagnostic tools when confirming (or ruling out) a patient diagnosis.
Although the terms “x-ray” and “diagnostic image” are often used interchangeably, to rule an image as “diagnostic”, it should display quality contrast and dynamic range and avoid any artifacts.
To achieve these characteristics, let’s start with the foundation of what produces a quality diagnostic image: a technique chart.
The Purpose of a Technique Chart for Veterinary Radiography
A digital radiography technique chart is a standard guide to producing the optimum exposure for a diagnostic image.
Put another way, it’s a table of predetermined exposure settings that, when used accurately, ensure consistent image quality and patient exposure.
A reliable, user-friendly chart is important for obtaining clear diagnostic imagery with consistent radiographic density and contrast.
Why do Technique Charts for Veterinary Digital Imagery Matter?
Patient care and wellbeing is always top priority and proper treatment starts with a confident diagnosis.
Veterinarians and Veterinary Specialists rely on quality diagnostic images to rule out suspected diagnoses and confirm findings to develop an accurate treatment plan.
With many veterinary practices upgrading to quality veterinary X-ray software, there’s a little more forgiveness in under/overexposed images (with veterinary X-ray technology advancements, we can manipulate image contrast); however, not all exposure imperfections can be corrected.
Having a precise image from the start is crucial to a proper evaluation.
What Factors Make Up a Technique Chart?
Let’s break it down…
Most technique charts are segmented anatomically by thorax (chest), abdomen, spine, and extremities (arms, legs, tail) since each area varies in density. The measurement of the anatomical body part will determine the exposure settings.
What exactly are exposure settings?
Exposure settings include:
· kVp (kilovoltage peak), which controls the penetrating power of the x-ray beam (or how energetic the x-rays are)
· mAs (milliampere-seconds), which controls the number of x-rays.
Typically, the higher the mAs, the better the image quality; however, it’s important to be judicious with these settings because they can also contribute to the patient's radiation dose.
How to Use a Technique Chart for Veterinary Digital X-Rays
It all starts with accurate measurements. Begin by using a set of calipers to measure the anatomical part of the patient you’ll be radiographing.
Tip: for best results, measure the patient in the position they’ll be in during the radiograph (ex: right lateral recumbency) and measure from the point of x-ray entrance to exit.
Once you’ve got your measurement (in cm), consult the technique chart to determine the kVp and mAs to set the X-ray generator.
Depending on your veterinary hospital’s X-ray system setup, you may also need to determine whether the X-ray cassette needs to be placed on the tabletop or in the bucky tray (also known as the “film tray”).
You can place your technique chart aside and manipulate your tube head and lighting in preparation for your image.
Tip: Remember, the tube head may need to be raised if the cassette is on the table top or lowered if it’s in the Bucky tray.
Remember to place a left/right marker to indicate patient positioning (for example, if the patient is in right lateral recumbency, an “R” label should be included on the image).
Once you’ve confirmed your settings are correct, the cassette and tube head are in the correct position, the label is placed, and the patient is in position, you’re ready to capture your diagnostic image!
Making Adjustments to Exposure Factors
Sometimes adjustments are necessary for a clear visual of injuries or problem areas. Here are a few tips to consider before your retake:
If the initial radiograph is too light, try increasing the kVP by 15% (mAs remain the same)
If the initial radiograph is too dark, try decreasing the mAs by 15% (mAs remain the same)
Want to learn more?
For more tips on achieving quality diagnostic veterinary images, check out these articles below:
Warnings!
Don’t participate in x-ray diagnostic imaging if you’re pregnant to avoid harmful radiation to your little one.
Avoid using old, run-down, or defective protective gear. If cracks, tears, or fraying appear, replace your veterinary radiology protective supplies.
Additional Resources:

Avoid X-Ray Over-Exposure: Expert Tips for Veterinarians

Sharpen Your Skills: Mastering X-Ray Technique to Avoid Overexposure
X-rays are workhorses in the veterinary world, helping diagnose countless conditions in our furry (and feathered, and scaled) friends. But for those perfect diagnostic images, proper exposure is crucial. Over-exposed X-rays, while easy to spot, can lead to a whole host of problems. Don't worry, though, this blog is here to help!
Why Does Exposure Matter?
A good X-ray is like a perfectly balanced recipe: all the elements need to be just right. Over-exposure, like adding too much salt, makes the image too dark and difficult to interpret. This can lead to missed diagnoses and even unnecessary repeat X-rays, exposing your patients and staff to additional radiation.
Culprits of the Over-Exposed Image
Several factors can contribute to over-exposed X-rays in your clinic:
Distance: A slight change in the distance between the X-ray source and the animal can significantly impact exposure. Ensure proper positioning and consult your exposure chart for the correct distance based on the animal's size and the area being imaged.
Technical Tweaks: Incorrect kV and mA settings can also play a role. Higher kV settings lead to more powerful X-rays that can penetrate deeper, potentially overexposing the film. Adjusting these settings based on the animal and the desired image is crucial.
Missing Grids: Grids help filter out scattered radiation, improving image quality and reducing exposure. Ensure you're using the appropriate grid and factoring it into your exposure calculations.
Tips for X-Ray Success
Here's how you can ensure your X-rays are picture-perfect:
Exposure Charts: These handy tools provide recommended kV and mA settings for various animal sizes and body areas. Consult them religiously!
Exposure Indicators: Most digital systems come equipped with these, helping you identify overexposed images. Learn how to interpret the readings and adjust settings accordingly.
Regular Maintenance: Keep your X-ray machines well-maintained for optimal performance and accurate exposure.
Remember:
Over-exposure isn't just about image quality; it's about patient and staff safety. By following these tips and staying vigilant, you can ensure your X-rays are both diagnostic and safe.
Bonus Tip: Consider exploring X-ray machines with features like automatic exposure adjustments based on animal size, like the DynaVue Duo. This can minimize errors, optimize imaging, and ultimately, enhance the care you provide to your animal patients.