

What Is an Under-Exposed X-Ray, and Why Does It Matter?
When it comes to your x-ray images, there’s a fine balance between too much or too little exposure.
Of course, you’ll always want to use the lowest settings possible to get the image you need, to minimize x-ray exposure to both your patients and your staff.
But, it’s possible to go too low on your exposure settings—and often that results in an under-exposed, possibly non-diagnostic, image.
Why should you care about an under-exposed x-ray image?
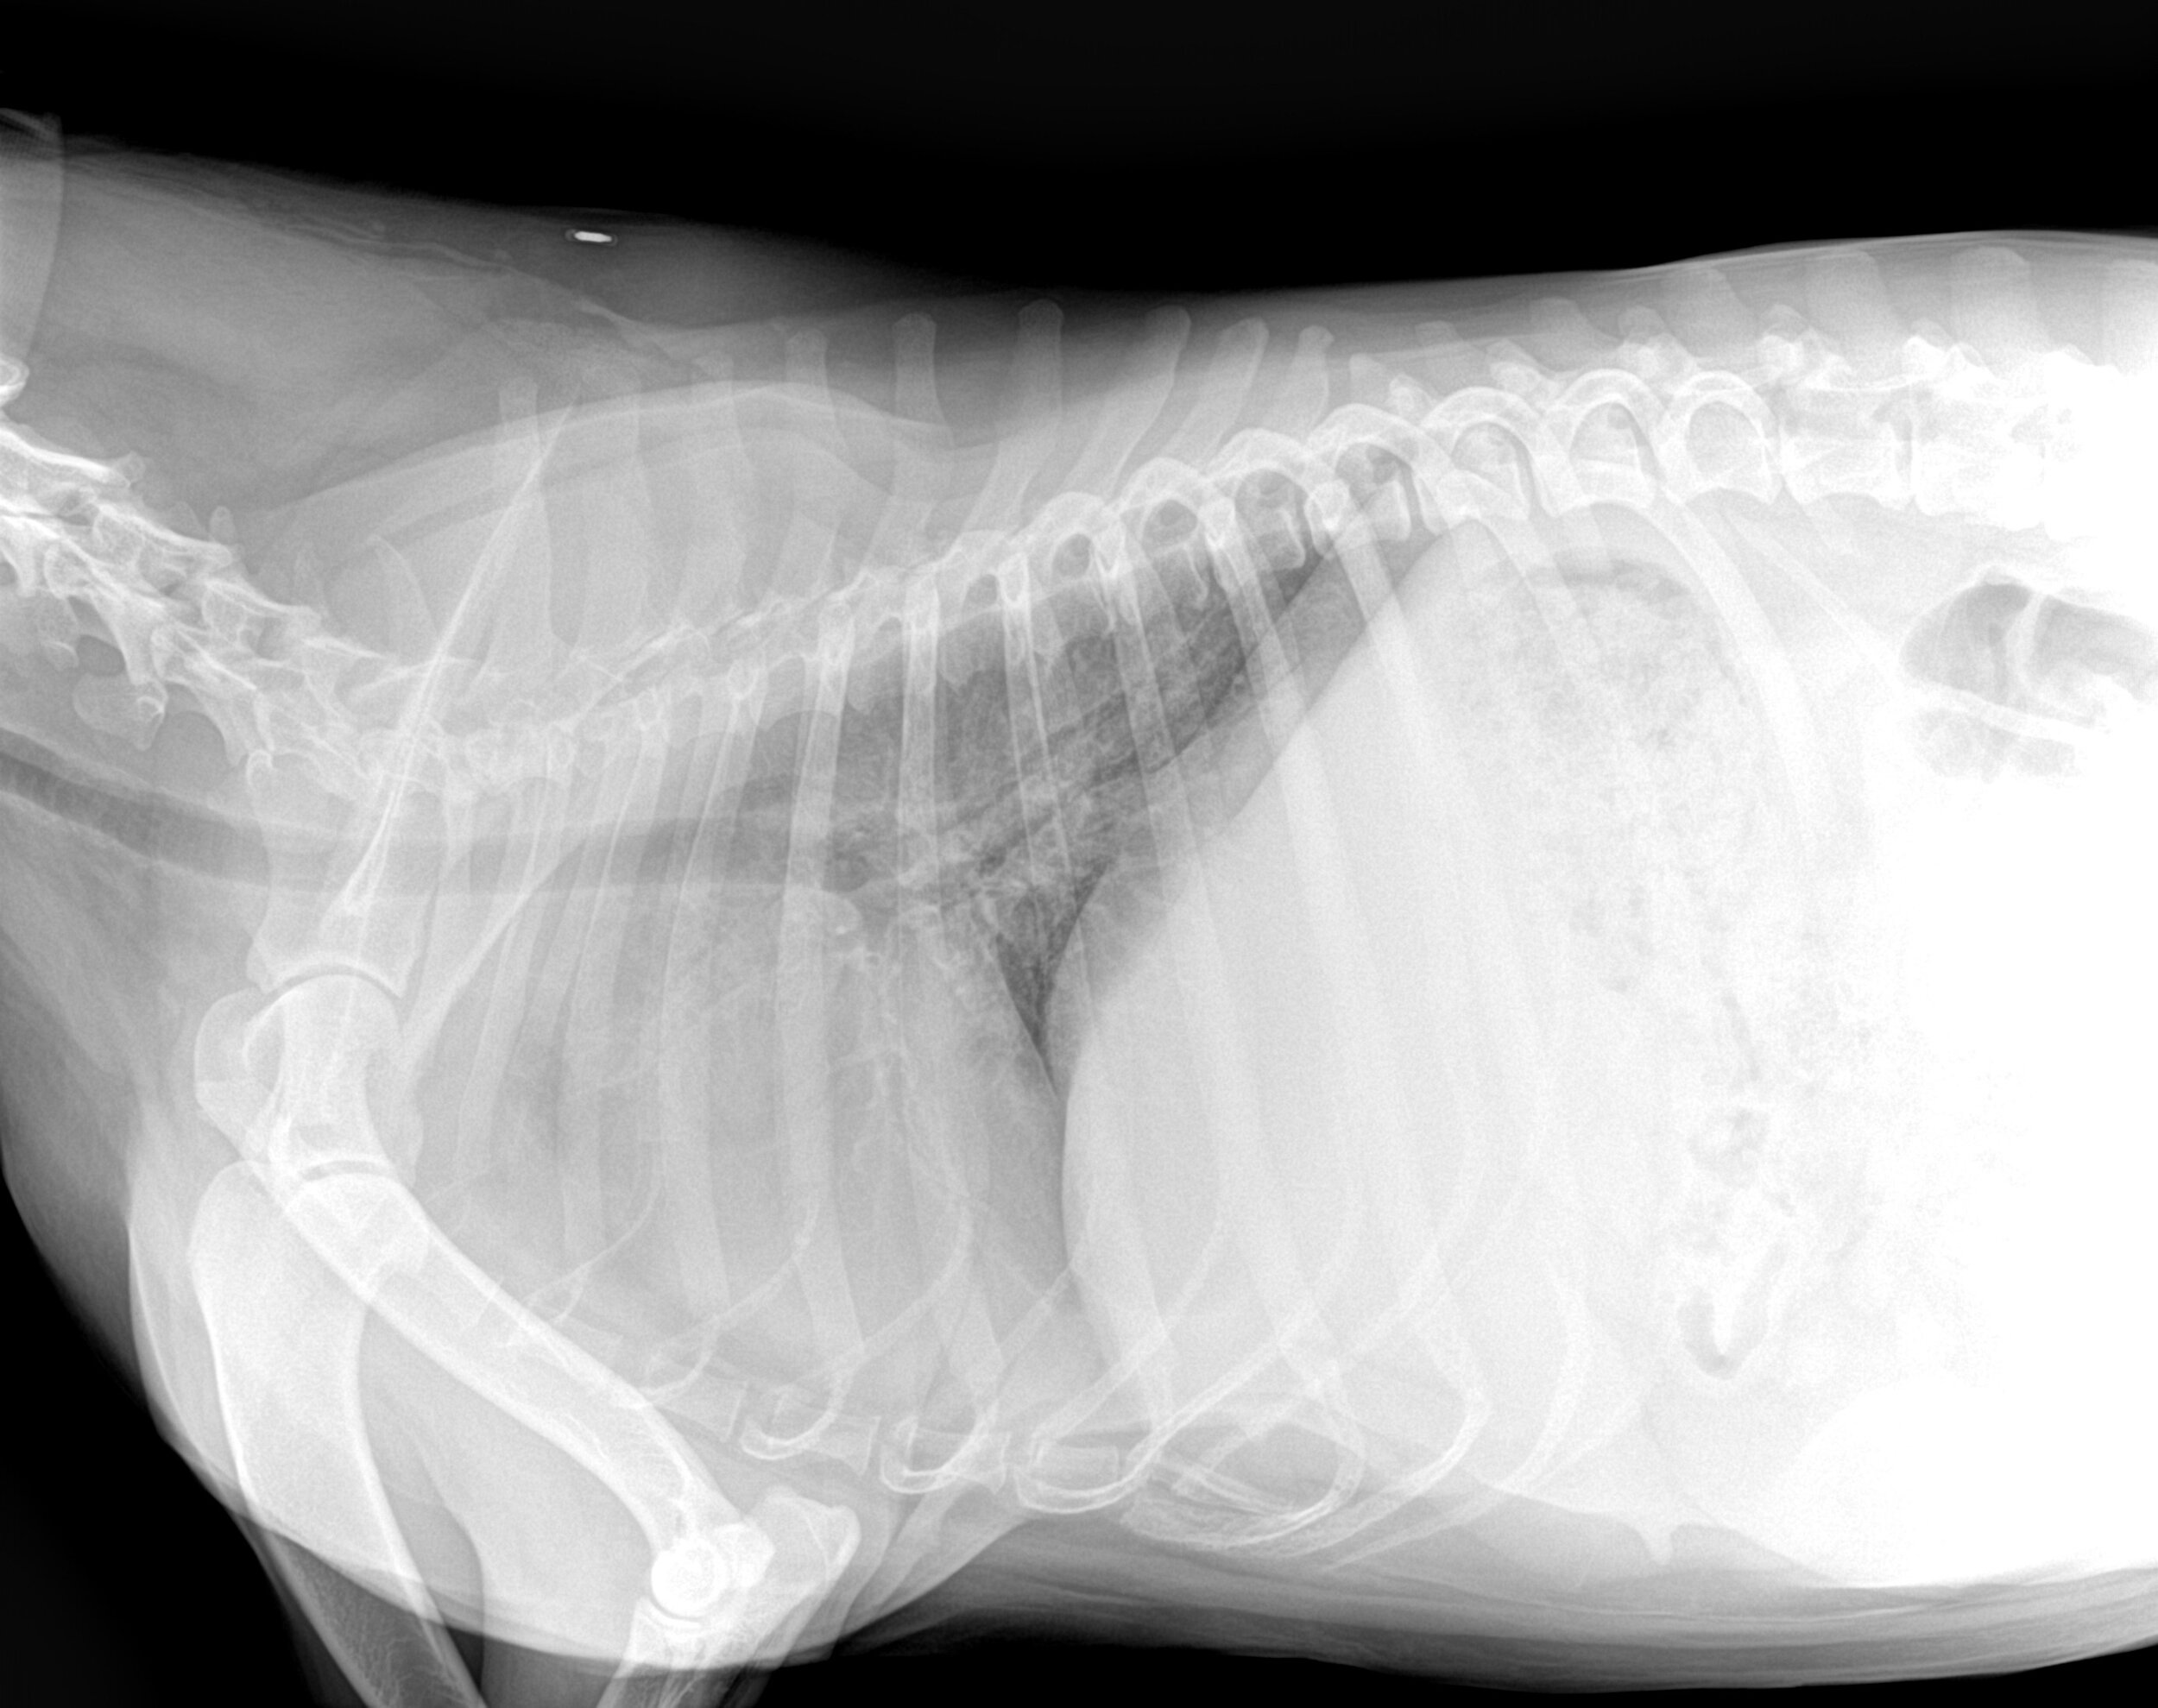
The short answer is because your images will look very light and might not show enough detail or contrast for you to make a diagnosis. An under-exposed radiographic image could mean…
Increased “noise.” This can show up as cloudiness, mottled areas, or even stripes on the image. In the areas outside of the patient, that’s not necessarily a problem—but extra noise or grainy patterns overlying the area you’re looking at could create artifacts or obscure details.
White or light radiographs that are difficult to read. An under-exposed radiograph means there was less penetration of the x-ray beam through the patient’s tissues. This results in an x-ray image that looks overly white or light compared to a properly exposed radiograph. That “whitewash” effect can make it more difficult to see certain lesions or abnormalities.
In other words, under-exposure could mean artifacts, non-diagnostic results, or other confusion when it comes to interpreting your films or digital images.
Reasons why your radiographs might be under-exposed
Here are some possible culprits…
An error in technique (kVp or mAs settings).
A machine or equipment error.
Using grids with a non-grid technique.
Having two films on the same cassette.
Variations in screens.
A long-distance between the x-ray source and the film or plate.
This isn’t an exhaustive list, but it represents good areas to explore for getting better images.
How to get it right the first time
Using the least amount of radiation necessary to get your images is a good practice. However, if your beam isn’t strong enough to produce a diagnostic image, then you’ll have to retake the shots, which produces more potential exposure to patients and staff.
So, it’s best to get it right the first time. Try these tips…
Use technique charts. Charts will give you a good starting point for exposure settings, and take out much of the guesswork. Usually, you’ll have to increase kVp or mAs to improve an underexposed image.
Keep your equipment in good repair, including routine maintenance as necessary.
Use appropriate patient restraint, whether physical or chemical. This can minimize movement artifact, as well as any changes to tissue density that could happen if a patient moves their body in a way that’s different from when you measured them.
Consider using digital radiography. This will minimize wait times between views (allowing you to adjust settings prior to taking more shots).
Digital radiography also prevents errors that come from the film development process. That’s not the same thing as under-exposure… But, taking film development out of the equation does give you one less thing to worry about and makes it faster to troubleshoot if you ever do come across problems with your images.

Have an overexposed radiograph? Check here for more information and tips.
Disclaimer: This article is for general informational purposes only, and not intended as a guide to the medical treatment of any specific animal.
Written by: Dr. Tammy Powell, DVM